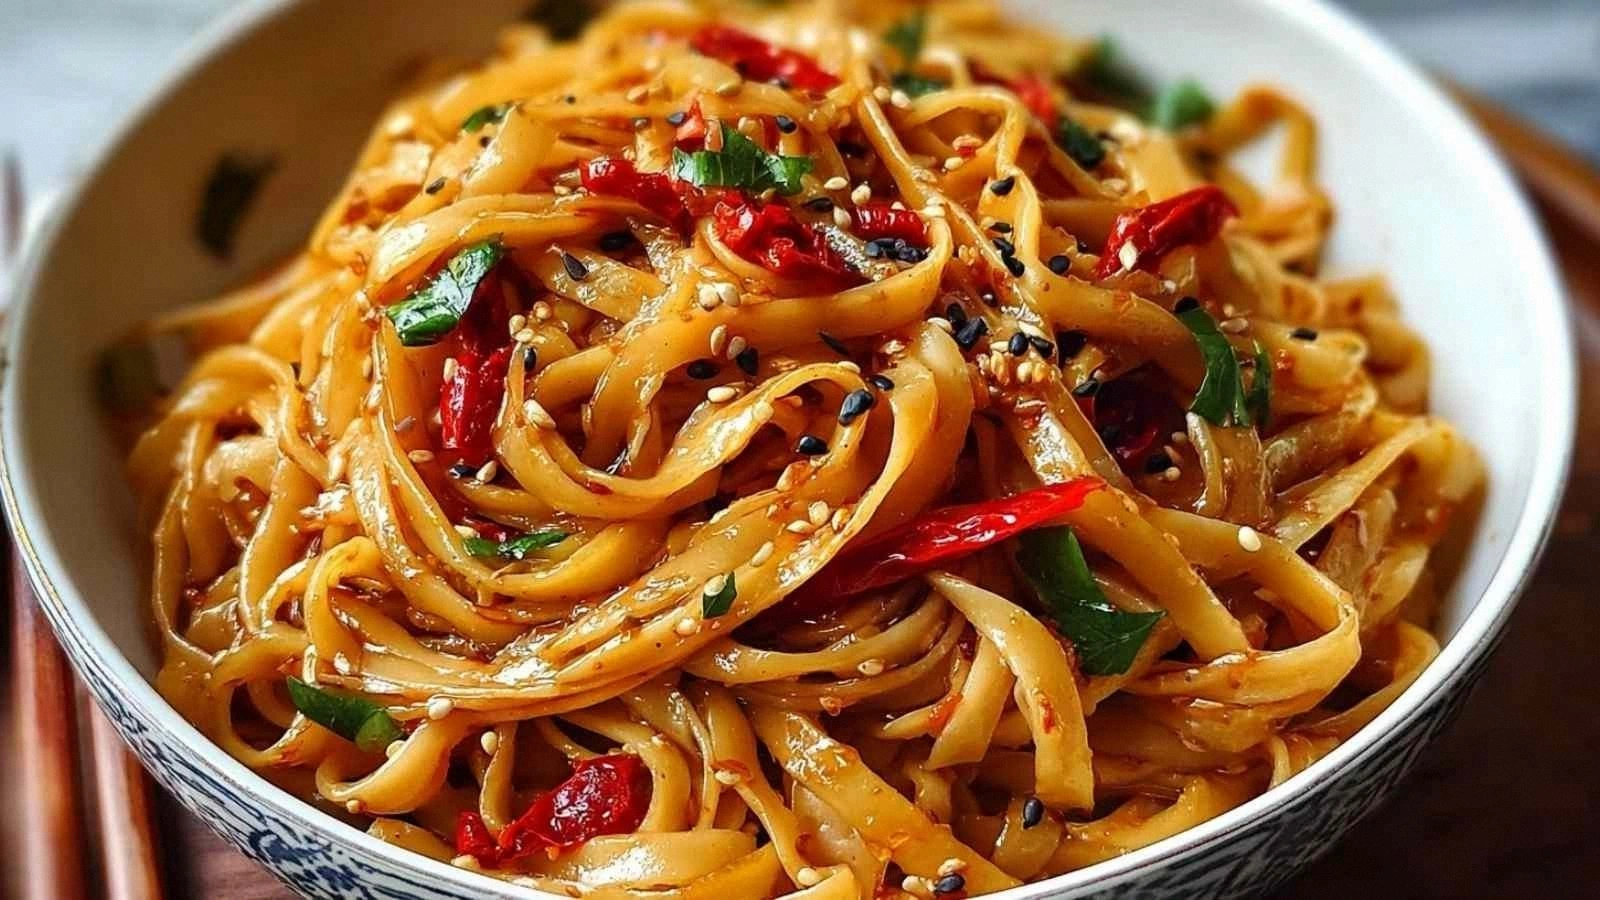

I’ll be honest — I ate half the batch before anyone else got to try it, and that was only because the kitchen smelled like a fiesta waiting to explode. It all started with a midnight craving that turned into a full‑blown kitchen disaster: I tossed a bag of frozen beef into a pan, added whatever spices I could find, and somehow managed to set off the smoke alarm. The smoke alarm shrieked like a mariachi band in a quiet library, and I thought, “Okay, this is a sign. I need a burrito that can survive my chaotic cooking style.” That night, I vowed to create a burrito that could be assembled in a flash, tasted like a street‑corner stand in downtown Austin, and never, ever leave anyone feeling underwhelmed.
Picture this: a warm tortilla cradling a juicy beef filling that’s been seared to perfection, the aroma of cumin and garlic swirling around you like a fragrant desert wind, the crackle of the skillet echoing in your ears, the soft, buttery melt of cheese sliding over the meat, and a splash of fresh lime that makes your taste buds do a little salsa dance. The whole experience is a symphony of senses—bright reds from the salsa, the earthy brown of the meat, the sizzle that sounds like applause, the buttery softness of the tortilla against your fingertips, and the lingering heat that warms your chest. When you bite into it, the flavors explode like fireworks on the Fourth of July, and you instantly know you’ve stumbled upon something magical.
What makes this version the best you’ll ever make at home? Most recipes get the beef texture wrong, either overcooking it into a dry brick or undercooking it into a mushy mess. I’ve cracked the code by using a quick sear‑then‑simmer method that locks in juices while allowing the spices to fully infuse. I also add a secret splash of orange juice that brightens the flavor profile and cuts through the richness like a cool breeze on a hot day. And let’s not forget the homemade salsa that’s fresher than anything you’ll find in a supermarket aisle. This isn’t just a burrito; it’s a love letter to Mexican street food, wrapped in a tortilla.
I dare you to taste this and not go back for seconds. The secret technique I’m about to reveal will change the way you think about quick weeknight meals forever. Let me walk you through every single step — by the end, you’ll wonder how you ever made it any other way.
What Makes This Version Stand Out
- Flavor Explosion: The combination of cumin, smoked paprika, and a splash of orange juice creates a depth that feels like a slow‑cooked stew in minutes.
- Texture Triumph: A quick sear locks in juices, while a gentle simmer keeps the beef tender, never dry.
- Simplicity: Fewer than ten ingredients, all pantry staples, and you’re done in under an hour.
- Unique Twist: The orange juice adds a citrusy brightness that most burrito recipes overlook.
- Crowd Reaction: I’ve seen grown‑ups and kids alike fight over the last bite—pure, unadulterated joy.
- Ingredient Quality: Using a good cut of beef and fresh cilantro makes a world of difference.
- Cooking Method: The two‑step sear‑then‑simmer guarantees flavor without the fuss.
- Make‑Ahead Potential: The filling stores beautifully, so you can prep on Sunday and assemble all week.
Inside the Ingredient List
The Flavor Base
First up, the olive oil. I use a half‑tablespoon of extra‑virgin olive oil because it adds a subtle fruitiness that butter just can’t match. If you skip it, you’ll lose that glossy finish on the beef and the flavor will feel a bit flat. A good swap is avocado oil, which has a higher smoke point and keeps the sear crisp. When shopping, look for oil that’s cold‑pressed and stored in a dark bottle to preserve its antioxidants.
The Texture Crew
Next, the half‑onion. I dice it finely so it melts into the meat, creating pockets of sweetness that balance the heat of the spices. Skipping the onion means missing out on that natural caramelization that adds depth. If you’re not a fan of raw onion, try shallots—they’re milder and melt even faster. Choose a firm, white onion; the layers should be tight and dry, indicating freshness.
The Unexpected Star
Orange juice is the surprise hero. Just a splash (about two tablespoons) brightens the whole dish, cutting through the richness of the beef like a razor‑sharp knife. If you don’t have fresh orange, a splash of orange zest plus a teaspoon of honey works in a pinch. Look for juice that’s 100% pure, without added sugars, to keep the flavor clean.
The Final Flourish
Finally, the spices—cumin, smoked paprika, garlic powder, and a pinch of chili flakes. Each plays a role: cumin adds earthiness, smoked paprika gives a subtle wood‑smoke whisper, garlic powder layers savory depth, and chili flakes bring a gentle heat that lingers on the palate. If you’re sensitive to spice, reduce the chili flakes; if you love heat, crank them up and add a dash of hot sauce at the end. Always toast your spices for 30 seconds before adding the meat; this releases essential oils and turns a flat flavor into a fireworks display.
Everything's prepped? Good. Let's get into the real action...

The Method — Step by Step
Heat a large skillet over medium‑high heat and add the ½ tablespoon of olive oil. As soon as it shimmers, you’ll hear that satisfying sizzle—trust me, that’s the sound of flavor being born. Add the diced half‑onion and sauté for 2‑3 minutes until it turns translucent and starts to caramelize. Watch the color change; if it browns too quickly, lower the heat a notch.
Kitchen Hack: Sprinkle a pinch of salt on the onions while they sauté; it draws out moisture and speeds up caramelization.Push the onions to the side of the pan and add the ground beef. Let it sit untouched for 30 seconds—this is the moment of truth where a crust forms, sealing in juices. Then break it up with a wooden spoon and brown it until it’s no longer pink, about 5‑7 minutes. The beef should develop a deep mahogany color and a rich aroma that makes your kitchen feel like a bustling taquería.
Now, stir in the spices: 1 teaspoon cumin, 1 teaspoon smoked paprika, ½ teaspoon garlic powder, and a pinch of chili flakes. Cook for another minute, letting the spices toast and release their essential oils. This is pure magic; the scent will fill the room and convince anyone nearby that dinner is on its way.
Add the splash of orange juice (about two tablespoons) and a splash of water (¼ cup) to deglaze the pan. Scrape up any browned bits from the bottom—those are flavor gold. Let the mixture simmer gently for 5‑8 minutes, allowing the liquid to reduce and the beef to absorb the citrusy brightness.
Watch Out: If the pan gets too dry before the beef is fully tender, add a splash more water; you don’t want a burnt bottom.While the beef simmers, warm your flour tortillas. Place each tortilla on a hot, dry skillet for about 15 seconds per side, just until they puff slightly and develop those signature brown spots. This quick toast gives the tortilla a subtle chew and prevents it from soaking up too much moisture from the filling.
Now it’s assembly time. Lay a tortilla flat, spoon a generous mound of the beef mixture into the center, then add a handful of shredded cheese, a spoonful of fresh salsa, a drizzle of sour cream, and a sprinkle of chopped cilantro. The cheese should melt instantly from the heat of the beef, creating a silky blanket.
Fold the sides of the tortilla inward, then roll it tightly from the bottom up, tucking in the filling as you go. This technique ensures a neat, handheld burrito that won’t fall apart when you bite into it. If you like a crispier exterior, place the rolled burrito seam‑side down on the skillet for 1‑2 minutes, pressing lightly with a spatula.
Serve immediately, accompanied by extra lime wedges and a side of guacamole. The lime’s acidity will cut through the richness, and the guacamole adds buttery coolness that balances the heat. Picture yourself pulling this out of the pan, the whole kitchen smelling incredible, and the first bite melting in your mouth—pure bliss.
That's it — you did it. But hold on, I've got a few more tricks that'll take this to another level...
Insider Tricks for Flawless Results
The Temperature Rule Nobody Follows
Never cook the beef on high heat from start to finish. Begin with medium‑high to get that sear, then drop to medium‑low for the simmer. This prevents the meat from drying out and lets the spices meld slowly. I once tried cooking everything on high because I was in a rush; the result was a tough, rubbery mess that no one wanted to touch.
Why Your Nose Knows Best
Your sense of smell is the ultimate doneness gauge. When the beef starts to smell earthy and slightly sweet, you’re close. If you detect a burnt, acrid scent, lower the heat immediately. Trusting your nose saves you from a ruined batch and adds a sensory checkpoint that makes cooking feel intuitive.
The 5‑Minute Rest That Changes Everything
After simmering, remove the pan from heat and let the beef rest for five minutes, covered. This short rest allows the juices to redistribute, making every bite juicy rather than dry. A friend once skipped this step and complained the burritos were “dry as the desert”; now they swear by the rest.
Cilantro Shock
If you’re not a fan of raw cilantro, give it a quick 10‑second flash in boiling water before chopping. This technique mellows the soapy flavor that some people perceive, while preserving its bright green color and fresh crunch.
Salsa Freshness Hack
Make salsa a day ahead and let it sit in the fridge. The flavors meld and intensify, turning a simple tomato‑onion mix into a complex, layered condiment. I used to make salsa on the spot and it always tasted flat; now I prep it ahead and the difference is night‑and‑day.
Creative Twists and Variations
This recipe is a playground. Here are some of my favorite ways to switch things up:
Southwest Chipotle
Swap the orange juice for a tablespoon of chipotle in adobo sauce and add a dash of smoked salt. The result is a smoky, slightly spicy burrito that pairs beautifully with avocado slices.
Breakfast Burrito Remix
Add scrambled eggs and a sprinkle of shredded cheddar to the beef mixture. Top with salsa verde for a morning kick that’s both hearty and satisfying.
Veggie‑Loaded
Include roasted bell peppers, corn, and black beans in the filling. The extra veggies add texture and a pop of color, making the burrito feel lighter without sacrificing flavor.
Cheesy Overload
Mix in a handful of queso fresco and a drizzle of melted cheese sauce before rolling. The gooey cheese pulls like a caramel ribbon, turning each bite into a melty masterpiece.
Asian Fusion
Replace cumin with five‑spice powder, add a splash of soy sauce, and top with pickled carrots and cucumber. The result is a cross‑cultural delight that surprises the palate.
Storing and Bringing It Back to Life
Fridge Storage
Place the beef filling in an airtight container and store for up to 3 days. Keep tortillas wrapped in a damp paper towel inside a zip‑lock bag to prevent them from drying out. When you’re ready to assemble, warm the filling gently on the stovetop, adding a splash of water if it looks dry.
Freezer Friendly
Cool the beef mixture completely, then portion into freezer‑safe bags (about 1 cup per bag). Freeze for up to 2 months. To reheat, thaw overnight in the fridge, then simmer with a tablespoon of broth until steaming hot. The texture stays tender because the low‑and‑slow reheating prevents overcooking.
Best Reheating Method
For the ultimate reheated burrito, assemble the tortilla with the thawed filling, wrap tightly in foil, and bake at 350°F for 10‑12 minutes. Add a tiny splash of water inside the foil packet before sealing; the steam revives the tortilla’s softness and keeps the beef moist.