Remember that night when the kitchen turned into a chocolate battlefield? I was halfway through a classic chocolate mousse, the chocolate had gone hard, the whipped cream had collapsed, and the entire dessert was a sad, lumpy mess. I stared at the ruined batter, feeling a mix of frustration and a burning curiosity: could there be a way to salvage this disaster and turn it into something spectacular? That question sparked an obsession that led me to experiment with every ingredient I could find in my pantry.
Fast forward to today, and I’m standing in a bright kitchen, surrounded by the aroma of melted chocolate and the tangy promise of Greek yogurt. The countertop is a mosaic of spoons, bowls, and a single jar of honey that glistens like liquid gold. My senses are fully engaged: the glossy sheen of the chocolate chips, the faint scent of vanilla drifting from the bottle, the gentle hum of the mixer, the soft thud of spoonfuls against the glass. Every detail feels like a secret handshake with the universe, promising that this recipe will be a game changer.
What makes this version stand out? It’s not just the combination of Greek yogurt and chocolate; it’s the way the ingredients dance together to create a mousse that feels both airy and indulgent. I dare you to taste this and not go back for seconds. The texture is like velvet against your tongue, the sweetness is balanced, and the richness of the chocolate is never overpowering. Most recipes get this completely wrong, but here’s what actually works.
Picture yourself pulling this out of the bowl, the whole kitchen smelling incredible, and watching the mousse settle into a glossy, cloud‑like surface that invites you to dive in. That moment is pure magic. Let me walk you through every single step — by the end, you’ll wonder how you ever made it any other way.
What Makes This Version Stand Out
- Texture: The Greek yogurt gives the mousse a silk‑smooth mouthfeel that traditional whipped cream can’t match. It stays light yet holds structure, so each spoonful feels like a cloud of chocolatey joy.
- Flavor Balance: Honey replaces refined sugar, adding a natural, floral sweetness that complements the deep cocoa notes. The vanilla extract ties everything together with a subtle warmth.
- Ease: No need for a double boiler or a fancy chocolate tempering station. All you need is a saucepan and a whisk, making this accessible for beginners and seasoned cooks alike.
- Health‑Friendly: Greek yogurt brings protein and probiotics, turning dessert into a dessert that actually feels like a treat rather than a guilty pleasure.
- Make‑Ahead: The mousse sets in the fridge within 30 minutes, so you can prepare it hours in advance and serve it at a party or a quiet evening.
- Versatility: The base is neutral enough that you can add fruit, nuts, or spices without losing its core identity. It’s a blank canvas for your creativity.
Alright, let’s break down exactly what goes into this masterpiece…
Inside the Ingredient List
The Flavor Base
Greek yogurt is the backbone of this mousse, delivering a tangy depth that cuts through the chocolate’s richness. It also adds a creamy body that mimics the texture of a traditional mousse but with a healthier profile. If you skip the yogurt, you’ll end up with a flat, less complex dessert that feels more like a pudding than a mousse. For the best results, choose a thick, plain Greek yogurt with no added flavors.
The Texture Crew
Milk is the subtle liquid that balances the yogurt’s thickness. It helps the chocolate melt smoothly and prevents the mousse from becoming too dense. A splash of milk can also soften the final bite, making it easier to scoop. If you’re lactose intolerant, a small amount of almond milk or oat milk will work, but be aware that the mousse might set slightly differently.
The Unexpected Star
Chocolate chips are the star that brings everything together. They melt into a glossy sauce that coats the yogurt, creating a rich, chocolatey flavor profile. Opt for semi‑dark chips (70% cacao) for a slightly bitter edge that balances the honey’s sweetness. If you prefer a smoother texture, use milk chocolate chips, but expect a sweeter finish.
The Final Flourish
Honey and vanilla extract are the finishing touches that elevate the mousse from good to unforgettable. Honey adds a natural sweetness and a hint of floral undertones, while vanilla injects warmth and depth. Together, they create a harmony that makes each spoonful a sensory delight. If you’re allergic to honey, a drizzle of maple syrup works as a substitute, though the flavor profile will shift slightly.
Everything’s prepped? Good. Let’s get into the real action…
The Method — Step by Step
- First, place the chocolate chips in a heat‑proof bowl over a pot of simmering water. Stir continuously until the chocolate is fully melted and glossy. The gentle heat prevents scorching, ensuring a smooth sauce that coats the yogurt perfectly. I like to watch the chocolate transform, feeling a surge of anticipation.
- While the chocolate melts, whisk the Greek yogurt in a separate bowl until it’s silky smooth. If you prefer a smoother texture, you can pulse the yogurt in a food processor for a few seconds. This step is crucial because any lumps will carry through to the final mousse, breaking its flawless texture.
- Add the milk to the yogurt and whisk until the mixture is completely blended. The milk lightens the yogurt’s density, making the base more fluid and easier to fold with the chocolate. The mixture should feel like a thick, creamy custard.
- Pour the melted chocolate into the yogurt mixture, stirring continuously. The chocolate will begin to thicken the mixture; keep stirring until the sauce is fully incorporated and the mixture looks glossy. This is the moment where the mousse starts to form its character.
- Fold in the honey and vanilla extract, making sure they’re evenly distributed. The honey should create a subtle sheen on the surface, while the vanilla adds depth. Taste a small spoonful to ensure the sweetness is balanced; adjust if necessary.
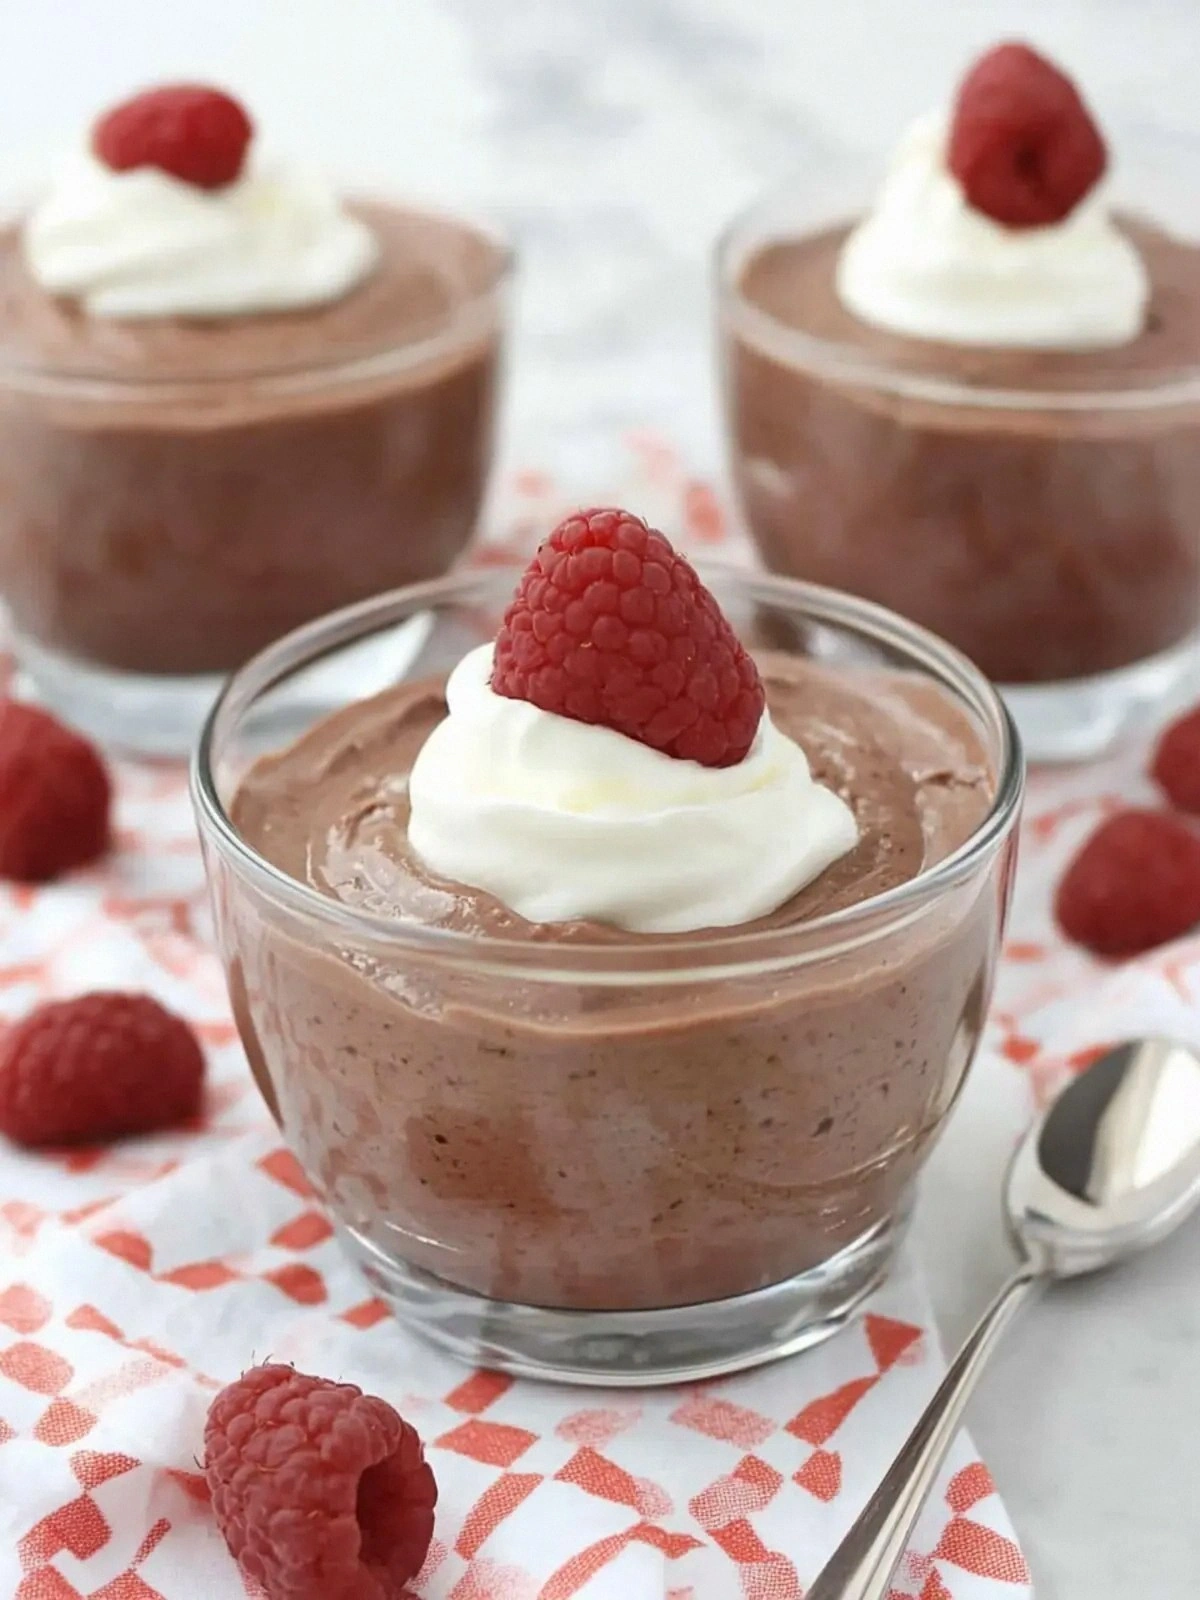
- Transfer the mousse into serving glasses or a large bowl. Use a spatula to smooth the top, creating an even surface that will set nicely. The mousse should look like a glossy, velvety dome.
- Refrigerate for at least 30 minutes, or until the mousse has fully set and the flavors have melded. The mousse will firm up, making it easier to scoop. I recommend letting it chill for a full hour to ensure maximum set.
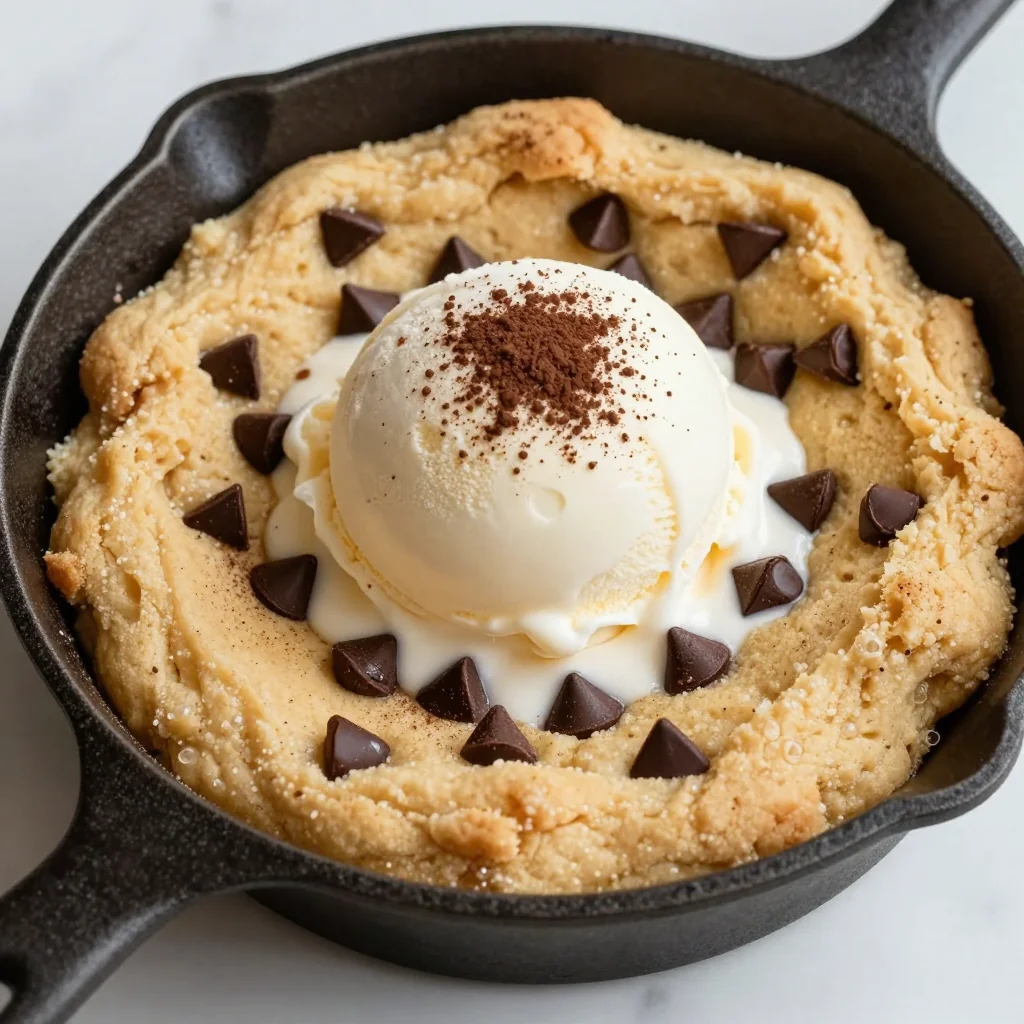
- Serve immediately or keep chilled until ready to serve. For an extra touch, garnish with a sprinkle of cocoa powder or a few chocolate shavings. This final flourish adds a visual pop and a burst of chocolate aroma.
That’s it — you did it. But hold on, I’ve got a few more tricks that’ll take this to another level. These insider tips will help you avoid common pitfalls and elevate the mousse into a showstopper.
Insider Tricks for Flawless Results
The Temperature Rule Nobody Follows
Temperature is everything when melting chocolate. A common mistake is letting the chocolate overheat, which can cause it to seize and become gritty. I always set the pot on low heat and stir constantly. If you’re using a microwave, stop at 30‑second intervals and stir each time; this prevents hot spots and keeps the chocolate silky.
Why Your Nose Knows Best
Before you even taste the mousse, give it a sniff. A slightly nutty, cocoa aroma indicates proper melting. If it smells burnt or metallic, you’ve gone too hot. Your nose is a reliable gauge; trust it to tell you when the chocolate is just right.
The 5‑Minute Rest That Changes Everything
After folding the honey and vanilla, let the mixture rest for five minutes before pouring into glasses. This short pause allows the flavors to marry and the mousse to thicken slightly, making it easier to set in the fridge. It’s a small step that makes a big difference.
Use a Silicone Spatula
Silicone spatulas glide through the mixture without sticking, ensuring you get every last drop of chocolate into the mousse. They’re heat‑resistant, so you can use them directly in the saucepan if needed. A good silicone spatula is a must‑have for any dessert lover.
Chill Your Serving Glasses
Place the glasses in the fridge for 10 minutes before pouring the mousse. Cold glasses help the mousse set faster and maintain its shape. The contrast of a cold glass against a warm mousse is a small but satisfying detail.
Keep It Cool Until Serving
Once the mousse has set, keep it chilled until you’re ready to serve. A warm mousse will melt too quickly, losing its structure. If you’re serving at a party, have a tray of ice cubes ready to keep the glasses cool.
Creative Twists and Variations
This recipe is a playground. Here are some of my favorite ways to switch things up:
Nutty Crunch Variation
Add a handful of chopped toasted almonds or hazelnuts to the mousse before chilling. The crunch adds texture, while the nutty flavor complements the chocolate. It’s perfect for a more sophisticated dessert.
Berry Burst Edition
Fold in fresh raspberries or blueberries after the mousse has set. The fruit’s tartness balances the sweetness, creating a vibrant, fruity dessert. Serve with a drizzle of raspberry coulis for an extra pop.
Spiced Surprise
Stir in a pinch of cayenne pepper or smoked paprika before folding. The subtle heat gives the mousse an unexpected kick, making it a conversation starter. Pair it with a dollop of whipped cream for contrast.
Minty Freshness
Replace the vanilla extract with a few drops of peppermint extract. The minty aroma makes the mousse feel lighter and more refreshing, especially during summer. Top with crushed mint leaves for a garnish.
Chocolate‑Covered Delight
Dip the finished mousse in melted white chocolate, then chill until set. The white chocolate coating adds a sweet, creamy layer that enhances the chocolate flavor. It’s a decadent twist that feels like a treat.
Vegan Version
Swap the Greek yogurt for a thick coconut yogurt and use a dairy‑free chocolate chip. The coconut adds a subtle tropical note, while the vegan chocolate ensures the mousse stays plant‑based. It’s a great option for those avoiding dairy.
Storing and Bringing It Back to Life
Fridge Storage
Store the mousse in an airtight container in the fridge for up to three days. Keep the container sealed to prevent the mousse from absorbing odors from other foods. The mousse will stay firm and maintain its creamy texture.
Freezer Friendly
You can freeze the mousse for up to two weeks. Use a freezer‑safe container and leave a little space at the top for expansion. Thaw overnight in the fridge before serving to preserve the texture.
Best Reheating Method
To revive a chilled mousse, add a splash of milk and whisk gently until smooth. This trick reintroduces moisture and prevents the mousse from becoming dry. The mousse will return to its silky, luscious state.