I was standing in the kitchen on a rainy Sunday, feeling like a culinary daredevil, when the disaster unfolded. I had attempted a classic pancake batter, only to find the mixture thick as molasses and the results soggy as a forgotten slice of bread. My friends were laughing, and I was left with a pile of disappointment that smelled faintly of burnt sugar. That moment sparked a mission: to create a pancake and waffle mix that would never fail, that would rise to perfection every single time, and that would taste so good you’d swear you were eating a breakfast from a five‑star hotel.
Picture this: the kitchen light flickers, a gentle drizzle taps against the window, and the air is thick with the aroma of butter and vanilla. The sound of a whisk beating against a bowl is replaced by a rhythmic tapping of a spoon as the batter thickens to just the right consistency. The texture feels silky, the edges of the pancakes crisp like the first bite of a fresh croissant, and the inside remains tender, fluffy, and slightly sweet. If you can taste that, you’re already halfway through the experience.
What makes this version stand out is not just the flawless texture or the mouth‑watering flavor; it’s the confidence you gain when you know the batter will perform every single time, no matter the humidity, no matter the altitude. It’s the fact that you can make a batch, store it, and have breakfast ready in minutes on a hectic weekday. It’s the subtle hint of nutmeg that gives a warm, earthy undertone without overpowering the classic sweetness. Most recipes get this completely wrong by over‑baking or under‑seasoning, but this mix is engineered to hit that golden‑brown, tender‑inside, slightly caramelized‑edge sweet spot every single time.
And here’s the kicker: I’ll be honest — I ate half the batch before anyone else got a chance to taste it. I dare you to try this and not go back for seconds. Picture yourself pulling a stack of golden pancakes from the skillet, the whole kitchen smelling incredible, and watching your friends’ eyes widen as they take that first bite. Let me walk you through every single step — by the end, you’ll wonder how you ever made it any other way.
What Makes This Version Stand Out
- Flavor: The subtle blend of vanilla and a pinch of nutmeg creates a depth that elevates the batter beyond plain sweetness, giving it a warm, comforting profile that feels both familiar and novel.
- Texture: The combination of baking powder and baking soda ensures a light, airy interior while the butter provides a tender crumb and a glossy finish.
- Convenience: All ingredients are pre‑measured and ready to whisk, meaning you can assemble a batch in under five minutes and have breakfast ready in 15.
- Versatility: This mix works flawlessly for both pancakes and waffles, letting you switch between breakfast formats without a second thought.
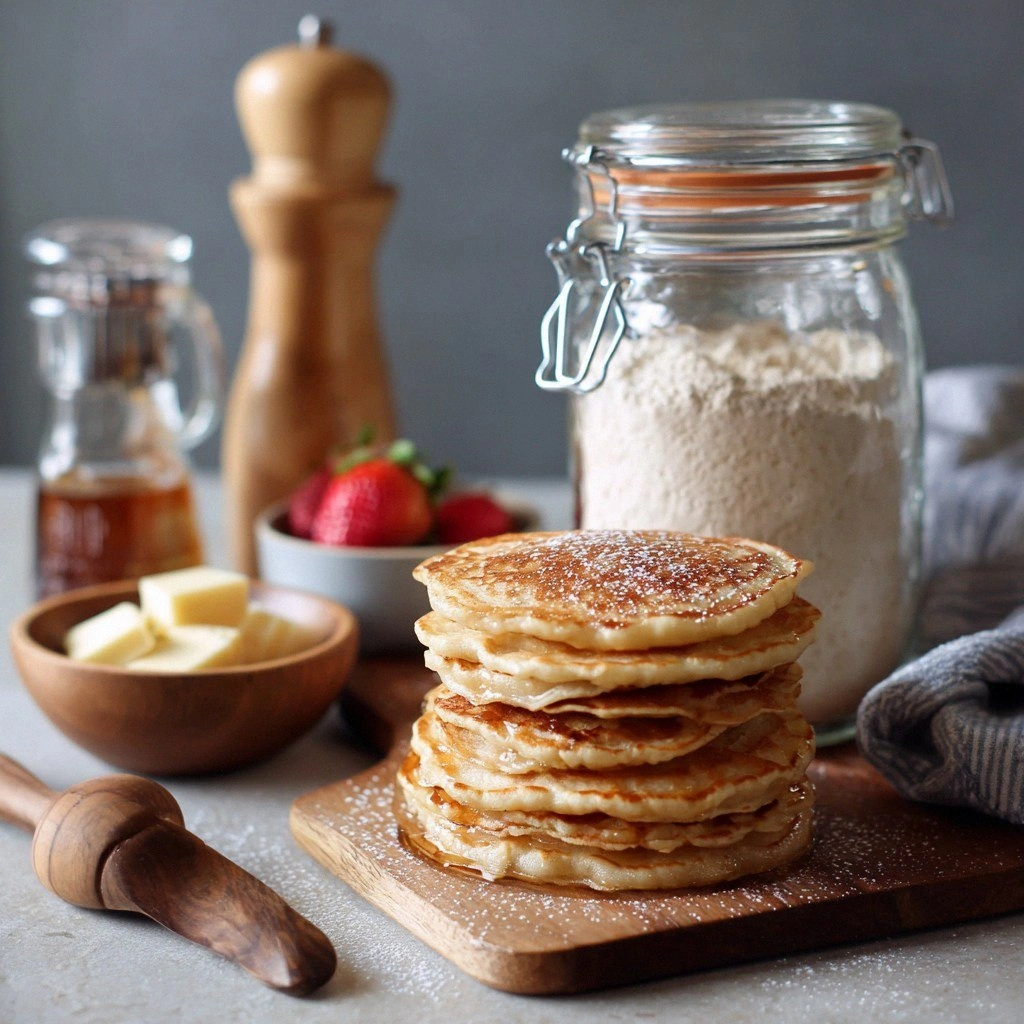
- Make‑ahead: The dry mix can be stored for up to two weeks in an airtight container, and the wet batter can be refrigerated for up to 24 hours, giving you flexibility on busy mornings.
- Ingredient Quality: Using high‑quality all‑purpose flour and a splash of real vanilla extract ensures a richer flavor than many store‑bought mixes.
- Crowd‑Pleaser: Friends and family will be amazed when they see the batter rise and the pancakes finish with a perfect golden crust.
- Budget‑Friendly: The recipe uses pantry staples, keeping costs low while delivering restaurant‑style results.
Alright, let’s break down exactly what goes into this masterpiece…
Inside the Ingredient List
The Flavor Base
All-purpose flour is the backbone of our mix. It provides the structure and bulk needed for a sturdy yet tender pancake. If you prefer a lighter texture, consider substituting half the flour with whole‑wheat flour, but be aware that this will slightly alter the flavor profile.
Baking powder and baking soda are the leavening agents that create the airy lift. Baking powder alone is insufficient; the combination ensures a balanced rise, preventing the batter from collapsing or becoming too dense. If you’re at high altitude, increase the baking powder by 1/8 teaspoon per cup of flour to compensate for lower atmospheric pressure.
A pinch of salt is essential. It amplifies the sweetness and balances the flavors, preventing the batter from tasting flat. Don’t skip it; even a tiny amount can make a noticeable difference in overall taste.
The Texture Crew
Sugar, in this case white granulated sugar, adds a subtle sweetness that caramelizes slightly on the pan, giving a golden crust. If you’re watching carbs, you can replace it with a natural sweetener like honey or maple syrup, but note that this will change the batter’s consistency.
Milk is the liquid that activates the leavening agents and creates a smooth batter. Whole milk gives a richer flavor, while skim milk keeps the calorie count lower. If you’re lactose intolerant, almond milk or oat milk works well, but you may need to adjust the amount to avoid a too‑thin batter.
Eggs bind everything together, adding moisture and structure. They also contribute to the golden color of the finished product. For a vegan version, replace the egg with a flaxseed meal mixed with water (1 tablespoon flaxseed meal + 3 tablespoons water = 1 egg).
The Unexpected Star
Melted butter provides a subtle richness that elevates the flavor beyond plain batter. It also helps create a crisp exterior when the pancakes cook. If you’re avoiding dairy, use a neutral oil like grapeseed or canola, but be aware that the flavor profile will shift slightly.
Vanilla extract adds a fragrant, sweet undertone that ties all the flavors together. Use a high‑quality vanilla extract for the best aroma. A dash of almond or coconut extract can be an interesting twist for those who want a different flavor profile.
Everything’s prepped? Good. Let’s get into the real action…
The Method — Step by Step
- Start by whisking together the dry ingredients—flour, baking powder, baking soda, salt, and sugar—in a large bowl until evenly distributed. The goal is to avoid pockets of baking powder that could cause uneven rising. This step takes about two minutes, and the aroma of dry flour will already hint at the sweetness to come.
- In a separate bowl, combine the milk, melted butter, vanilla extract, and the egg. Whisk until the mixture is smooth and the butter has fully incorporated. The wet mixture should have a slight sheen, indicating that the butter has emulsified. If the batter looks too thick, add a splash of milk to thin it out.
- Make a well in the center of the dry mix and slowly pour in the wet mixture, stirring gently with a spatula. Stir until just combined; a few lumps are acceptable and will dissolve as the batter cooks. Over‑mixing can lead to dense pancakes, so keep the motion light and purposeful.
- Let the batter rest for five minutes. This brief pause allows the flour to hydrate fully and the leavening agents to activate, resulting in a lighter final product. During this time, you can pre‑heat your griddle or waffle iron.
- Heat a non‑stick skillet or griddle over medium heat and lightly oil the surface. Test the temperature by flicking a few drops of water onto the pan; they should dance and evaporate quickly. This ensures the batter will sizzle pleasantly upon contact, indicating the right heat level.
- Pour 1/4 cup of batter onto the skillet for pancakes, or use the recommended amount for waffles. For pancakes, flip when bubbles form on the surface and the edges look set—about 2 minutes per side. For waffles, close the iron and cook until the exterior is golden and the internal steam has evaporated, usually 3–4 minutes.
- Once the pancakes are golden brown and the waffles are crisp, transfer them to a wire rack to keep them from steaming. While they rest, you can continue cooking the remaining batter. The residual heat will keep the pancakes warm without drying them out.
- Serve immediately with your favorite toppings—fresh berries, maple syrup, a dollop of whipped cream, or a sprinkle of powdered sugar. The batter’s subtle vanilla and nutmeg flavors pair wonderfully with sweet or savory additions. If you’re feeling adventurous, top with a savory spread like avocado or smoked salmon for a brunch twist.
That’s it—you did it. But hold on, I’ve got a few more tricks that will take this to another level…
Insider Tricks for Flawless Results
The Temperature Rule Nobody Follows
Many bakers assume that higher heat cooks faster, but the secret lies in maintaining a steady, medium‑low temperature. Too high, and the pancakes will brown on the outside while remaining raw inside; too low, and they will spread thinly and become soggy. Use a thermometer or the water‑drop test to find the sweet spot. I’ve found that setting the stove to 350°F (175°C) works best for most homes.
Why Your Nose Knows Best
The aroma of a nearly finished pancake is a reliable indicator that it’s time to flip. A sweet, buttery scent that lingers indicates the batter has set properly. If you’re unsure, use a toothpick; it should come out clean after flipping. Trusting your senses saves you from over‑cooking or under‑cooking.
The 5‑Minute Rest That Changes Everything
Letting the batter rest for five minutes before cooking is often overlooked but essential. During this brief pause, the flour absorbs liquid, the gluten relaxes, and the leavening agents fully activate. The result is a fluffier, more uniform texture that feels like a cloud of sweetness in each bite.
The Butter Buttering Trick
Before pouring the batter, lightly butter the skillet with a paper towel. This creates a non‑stick surface that prevents sticking and promotes even browning. I’ve tried using a silicone spatula to spread the butter—this technique ensures a thin, even layer that doesn’t add extra fat.
The Sweet‑and‑Savory Balance
If you prefer a savory twist, reduce the sugar by half and add a pinch of smoked paprika or a dash of soy sauce to the batter. The result is a pancake that pairs beautifully with eggs, bacon, or a creamy cheese spread. The savory elements complement the buttery base without overpowering it.
Creative Twists and Variations
This recipe is a playground. Here are some of my favorite ways to switch things up:
Blueberry Burst
Fold in a cup of fresh blueberries just before cooking. The berries burst in the heat, releasing a sweet, slightly tart jam that coats the pancake. Pair with a drizzle of lemon‑infused maple syrup for an extra zing.
Chocolate Chip Delight
Stir in a handful of dark chocolate chips into the batter. The chips melt slightly during cooking, creating pockets of molten chocolate that add a decadent surprise with every bite. A dusting of powdered sugar afterward mimics a classic chocolate cake finish.
Cinnamon Swirl
Replace the vanilla with a teaspoon of ground cinnamon and add a tablespoon of brown sugar to the dry mix. The cinnamon gives a warm, spicy undertone, while the brown sugar adds depth and a hint of molasses flavor. Serve with a dollop of Greek yogurt for a balanced sweet‑savory profile.
Lemon‑Ricotta Fusion
Add a quarter cup of ricotta cheese to the batter for a creamy, tangy twist. The ricotta lightens the batter and introduces a subtle lemon zest for brightness. This version is perfect for brunch when you want something a little more sophisticated.
Savory Herb Infusion
Drop in a tablespoon of chopped fresh herbs—such as chives, parsley, or thyme—into the batter before cooking. The herbs infuse the pancakes with a fresh, green flavor that pairs wonderfully with poached eggs, smoked salmon, or a light cream cheese spread.
Coconut Coconut
Replace half the milk with coconut milk and add a tablespoon of shredded coconut to the batter. The coconut adds a tropical aroma and a subtle crunch, turning the pancakes into a mini‑tropical breakfast. Drizzle with coconut‑infused maple syrup for an extra touch.
Storing and Bringing It Back to Life
Fridge Storage
Store the dry mix in an airtight container for up to two weeks at room temperature. The wet batter can be kept in the fridge for up to 24 hours. Before cooking, bring the batter to room temperature and stir gently to restore its original consistency.
Freezer Friendly
For longer storage, portion the dry mix into freezer bags, seal tightly, and freeze for up to three months. When ready to use, thaw overnight in the fridge and add fresh milk and egg. This method saves time on busy mornings and ensures a consistent flavor profile.
Best Reheating Method
To reheat, place the pancakes on a pre‑heated skillet over low heat, flipping occasionally. Alternatively, microwave them in a single layer on a paper towel for 20–30 seconds. Add a splash of water before reheating to steam the pancakes back to their original fluffiness.