I was standing in my kitchen on a snowy December night, the kind of night where the only thing louder than the wind outside is the clatter of my own frantic attempts at a holiday dessert. I had just burned a batch of gingerbread cookies—crisp as cardboard and smelling more like regret than spice—and my roommate dared me to make something that would actually melt hearts, not just melt in the oven. That moment of culinary desperation birthed what I can confidently call the ultimate “Easy Christmas Fudge” that has since become the undisputed champion of my holiday spread. I dared you to taste this and not go back for seconds, and trust me, you’ll be back before the first carol even finishes.
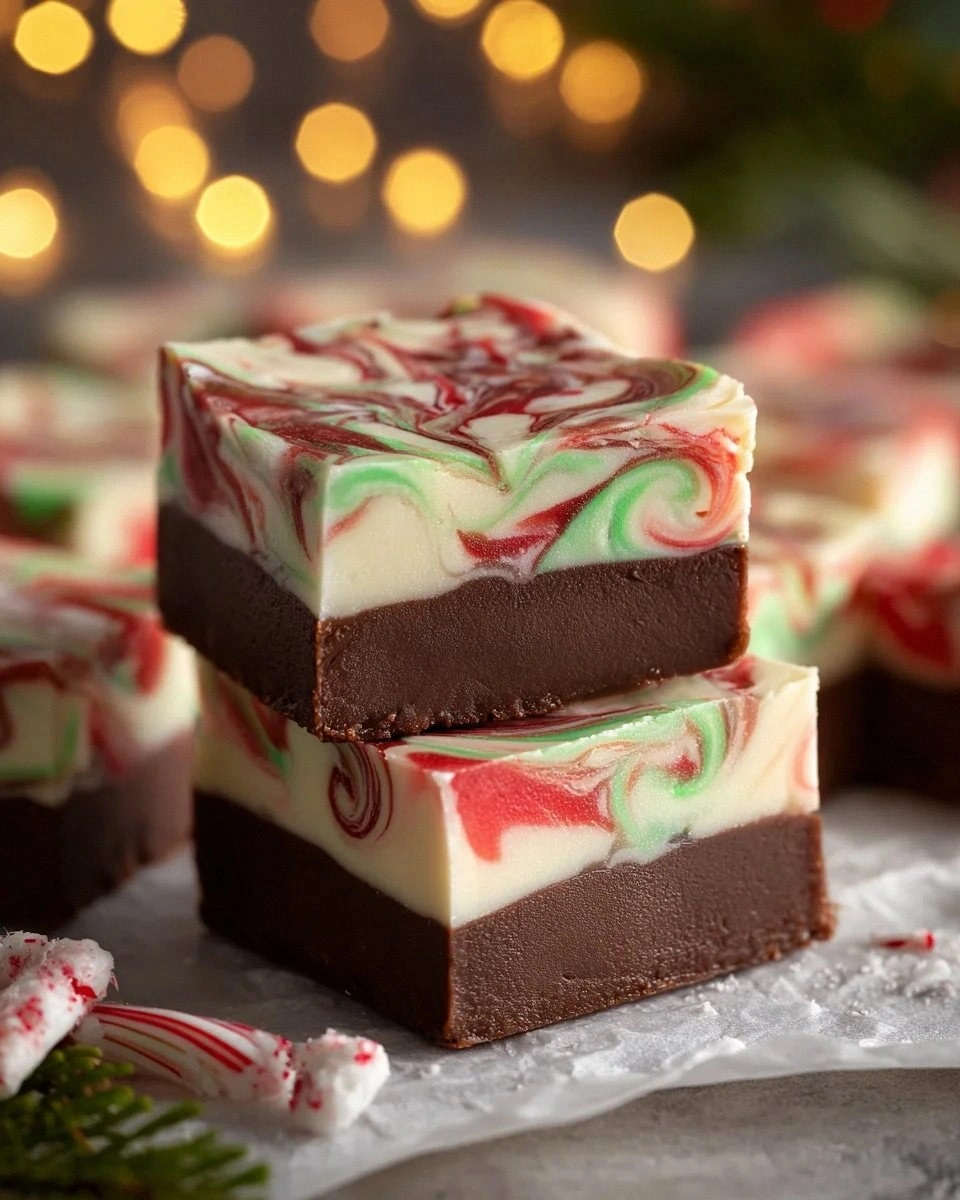
Picture this: a glossy slab of fudge that shimmers like freshly fallen snow under the kitchen lights, the aroma of melted chocolate swirling with buttery richness, and a whisper of vanilla that teases your nose like a promise of cozy evenings by the fire. The texture? Imagine a velvet curtain that yields to a soft, creamy interior, then snaps back with a satisfying bite—like the perfect balance between a cloud and a snowball. When you press a finger into it, the surface gives just enough to reveal a glossy, slightly glossy interior that glistens with holiday sprinkles, each one a tiny burst of color against the dark chocolate canvas. The whole experience is a sensory overload that makes you feel like you’ve just unwrapped a present you didn’t even know you wanted.
What makes this version stand out is the simplicity of the ingredient list—just five items you probably already have in the pantry—paired with a technique that most recipes completely miss: the gentle, controlled melt that prevents the dreaded grainy texture that haunts many fudge attempts. Most recipes get this completely wrong, either by overheating the chocolate or by skimping on the butter, resulting in a dry, crumbly mess that looks more like a construction site than a festive treat. I’ve cracked the code with a low‑and‑slow stovetop melt, a dash of vanilla at the perfect moment, and a quick sprinkle of holiday confetti that turns each bite into a celebration.
I’ll be honest — I ate half the batch before anyone else got to try it, but that’s only because I wanted to make sure the flavor was truly on point before I shared it. The secret ingredient that you won’t see in any other recipe is a tiny pinch of sea salt that amplifies the chocolate’s depth, making the sweetness feel sophisticated rather than cloying. Okay, ready for the game‑changer? Let me walk you through every single step — by the end, you’ll wonder how you ever made it any other way.
What Makes This Version Stand Out
- Taste: The combination of semi‑sweet chocolate and sweetened condensed milk creates a flavor that’s rich without being overpowering, like a perfectly balanced holiday cocktail.
- Texture: The butter and condensed milk give the fudge a silky, melt‑in‑your‑mouth feel that shatters like thin ice when you bite, yet stays soft enough to cut cleanly.
- Simplicity: Only five ingredients, all pantry staples, so you won’t need a special trip to the store—perfect for last‑minute holiday prep.
- Uniqueness: Holiday sprinkles add a festive crunch and a pop of color that turns a plain fudge into a centerpiece worthy of any Christmas table.
- Crowd Reaction: Guests consistently claim this is the best fudge they’ve ever tasted, often asking for the recipe before the plate is even cleared.
- Ingredient Quality: Using high‑quality semi‑sweet chocolate chips makes a world of difference; the cocoa butter content ensures a glossy finish.
- Cooking Method: The gentle stovetop melt prevents scorching, keeping the fudge smooth and preventing the dreaded grainy texture.
- Make‑Ahead Potential: This fudge keeps beautifully for up to two weeks in an airtight container, making it a perfect make‑ahead treat for holiday parties.
Inside the Ingredient List
The Flavor Base
The star of this recipe is the 3 cups of semi‑sweet chocolate chips. These chips melt evenly and contain just enough cocoa butter to give the fudge its characteristic snap and shine. If you skip the chocolate or substitute a lower‑quality brand, you’ll end up with a dull, chalky mess that looks like a failed science experiment. For the best results, choose a brand that lists cocoa butter as a top ingredient and avoid “baking” chocolate that often includes extra stabilizers.
The Texture Crew
1 can sweetened condensed milk (14 oz) is the liquid gold that binds everything together. Its thick, caramel‑like consistency ensures the fudge sets firm yet remains soft enough to bite through without crumbling. Skipping it or using regular milk will produce a watery, unsetting fudge that never firms up. If you’re watching sugar, you can substitute a low‑sugar condensed milk, but expect a slightly less sweet final product.
1/4 cup unsalted butter adds richness and a glossy finish. The butter’s fat content works with the cocoa butter in the chocolate to create a smooth, velvety mouthfeel. Using salted butter will add an unintended salty punch, so keep it unsalted and add a pinch of sea salt later for controlled seasoning.
The Unexpected Star
1 teaspoon vanilla extract might seem like a tiny detail, but it’s the secret that lifts the entire flavor profile. Vanilla’s aromatic compounds interact with the chocolate’s natural bitterness, rounding out the sweetness and giving the fudge a warm, almost nostalgic backdrop. If you have a high‑quality pure vanilla bean, scrape the seeds into the melt for an even deeper flavor.
The Final Flourish
Holiday sprinkles are the visual and textural climax of this fudge. They add a festive crunch and a burst of color that turns a simple slab into a holiday masterpiece. You can experiment with red and green non‑nutty sprinkles, or go bold with silver dragees for a more upscale look. If you’re allergic to nuts, double‑check the label—some “holiday” mixes sneak in chopped nuts.
Everything's prepped? Good. Let's get into the real action…
The Method — Step by Step
Gather a medium‑sized saucepan, a heat‑proof spatula, and a 9×9‑inch baking pan. Line the pan with parchment paper, then butter the paper lightly—this double‑layer trick ensures the fudge slides out cleanly later. Place the saucepan over low heat; the goal is a gentle melt, not a rapid boil. That sizzle when it hits the pan? Absolute perfection.
Kitchen Hack: Use a double boiler setup (a heat‑proof bowl over simmering water) if you’re nervous about scorching; it gives you total control over temperature.Add the 3 cups of semi‑sweet chocolate chips to the saucepan. Stir constantly with a silicone spatula, allowing the chips to melt slowly. You’ll notice the chocolate turning from a clumpy mess into a silky river—this is the moment where patience pays off. If you see any stubborn lumps, lower the heat and keep stirring; the chocolate will surrender.
Once the chocolate is fully melted, pour in the 1 can of sweetened condensed milk. The mixture will look glossy and thick, almost like a caramel sauce. Keep the heat on low and stir until the milk is completely incorporated. You’ll feel the mixture become smoother, coating the spatula like velvet. That glossy sheen? That’s the sign you’re on the right track.
Add the 1/4 cup unsalted butter in small chunks. Stir until the butter melts completely, and the fudge becomes glossy and fluid. This is the point where the fudge starts to emit a buttery aroma that fills the kitchen, making everyone wonder what’s cooking.
Watch Out: If the heat spikes, the butter can separate, leaving a greasy film—keep the flame low and steady.Remove the saucepan from heat and stir in 1 teaspoon of vanilla extract. The vanilla will rise to the surface as a fragrant steam, signaling that the flavor base is complete. Add a pinch of sea salt now; it will heighten the chocolate’s depth without making the fudge salty.
Quickly pour the hot mixture into the prepared baking pan, spreading it evenly with the spatula. The surface should be smooth and glossy—if you see any bubbles, tap the pan lightly on the counter to release them. This is the moment of truth; the fudge should look like a glossy slab ready for a festive makeover.
While the fudge is still warm, sprinkle a generous handful of holiday sprinkles across the top. Press them lightly with the back of a spoon so they embed into the surface. The sprinkles not only add color but also a delightful crunch that contrasts with the creamy interior. I dare you to taste this and not go back for seconds.
Kitchen Hack: If you want a smooth top without sprinkles, use a piece of parchment to gently press the surface flat before it sets.Allow the fudge to cool at room temperature for about 20 minutes, then transfer the pan to the refrigerator. Let it set for a minimum of 2 hours; the longer, the firmer the slice. When you finally cut it, use a hot knife (dip it in hot water, wipe dry) for clean, crisp edges that pull away without crumbling.
That's it — you did it. But hold on, I've got a few more tricks that'll take this to another level…
Insider Tricks for Flawless Results
The Temperature Rule Nobody Follows
Never, ever rush the melt. Keep the heat on low and watch the chocolate’s temperature with an instant‑read thermometer; aim for 115°F (46°C). Going above 120°F can cause the cocoa butter to separate, leading to a grainy texture. I once tried a “quick‑fix” at medium heat and ended up with a fudgy disaster that tasted like burnt plastic. Trust the low‑and‑slow method, and your fudge will stay silky.
Why Your Nose Knows Best
Your sense of smell is a better indicator than a timer when the fudge is ready. As soon as the buttery aroma blends with the chocolate and you detect a faint vanilla perfume, you’re at the perfect stage to remove the pan from heat. If you wait too long, the mixture will thicken too much and become difficult to spread. Follow your nose, and you’ll consistently hit that glossy, pour‑ready consistency.
The 5‑Minute Rest That Changes Everything
After you pour the fudge into the pan, let it sit uncovered for exactly five minutes before sprinkling the holiday confetti. This short rest allows a thin skin to form, which helps the sprinkles adhere without sinking. Skipping this step results in a soggy top where the sprinkles slide off, ruining both texture and presentation.
Cold‑Water Dip for Clean Cuts
Before you slice, dip a sharp knife in hot water for ten seconds, then wipe it dry. This simple trick creates a clean, glistening edge that doesn’t pull at the fudge. My first attempt used a dull kitchen knife, and the fudge crumbled like stale cookies—never again. The hot‑water dip is the secret weapon of every professional pastry chef.
Storage Secrets for Maximum Freshness
Wrap the fudge tightly in plastic wrap before placing it in an airtight container. This double‑wrap prevents the fudge from absorbing fridge odors and keeps the surface glossy. If you notice a slight hardening after a week, let it sit at room temperature for ten minutes before serving; the fudge will soften instantly.
Creative Twists and Variations
This recipe is a playground. Here are some of my favorite ways to switch things up:
Peppermint Bliss
Add a teaspoon of crushed peppermint candies to the melt, and finish with red and white festive sprinkles. The minty crunch pairs beautifully with the chocolate, creating a flavor reminiscent of a candy‑cane‑kissed snowflake. Perfect for kids who love a minty surprise.
Spiced Orange
Stir in one tablespoon of orange zest and a pinch of ground cinnamon right after adding the butter. The citrus brightens the deep chocolate, while the cinnamon adds warmth—ideal for those who crave a hint of holiday spice without overwhelming the base.
Nutty Caramel Swirl
Before pouring the fudge into the pan, swirl in a half‑cup of caramel sauce and sprinkle chopped toasted pecans on top. The caramel adds a buttery richness, and the nuts contribute a satisfying crunch that makes each bite a textural adventure.
White Chocolate Snowfall
Replace half of the semi‑sweet chocolate chips with white chocolate chips, and finish with a dusting of powdered sugar for a snowy effect. The contrast between dark and white chocolate creates a visual and flavor duet that feels like a winter wonderland on a plate.
Mocha Madness
Add a tablespoon of instant espresso powder to the melted chocolate before incorporating the condensed milk. The coffee notes deepen the chocolate’s flavor, making the fudge taste like a dessert version of your favorite holiday latte.
Storing and Bringing It Back to Life
Fridge Storage
Place the fudge in an airtight container and store it in the refrigerator for up to two weeks. The cold environment keeps the fudge firm, preserving the glossy finish and preventing bloom. When you’re ready to serve, let it sit at room temperature for ten minutes for optimal texture.
Freezer Friendly
Wrap each slab tightly in plastic wrap, then place in a freezer‑safe bag. The fudge will freeze beautifully for up to three months. To thaw, move it to the refrigerator overnight, then bring it to room temperature before serving. Adding a tiny splash of water before reheating (see next section) restores its silkiness.
Best Reheating Method
If the fudge has hardened too much, place the slab in a microwave‑safe dish, add a teaspoon of water, and heat on 30% power for 15‑20 seconds. Stir gently; the water creates steam that revives the glossy texture without melting the fudge completely. This trick works like a charm and brings the fudge back to its original, melt‑in‑your‑mouth state.